RPi-Windows troubleshooting
I recently got tangled into Raspberry Pi – Windows connectivity problems again. Hence, I decided to solve it for once and forever.
I have windows 7. I am running all following steps as admin.
Here is the ultimate fix.
1. Download DHCP Server for Windows here- www.dhcpserver.de/cms/download/
2. Unzip and install dhcpserver.exe
3. Go to properties of your Local Area Network and Assign a static IP. For example- 192.168.2.1. Enter Subnet mask. For example- 255.255.255.0 .
4. Run dhcpwiz.exe from the downloaded folder.
5.Select Local Area Network. It should say ‘Disabled’ . Hit Next.

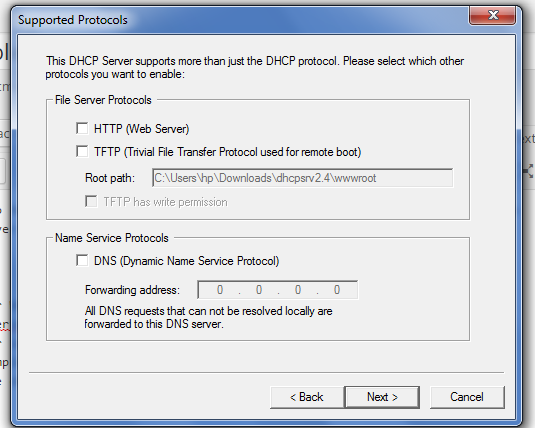
6. Do not do anything on this screen, hit Next.
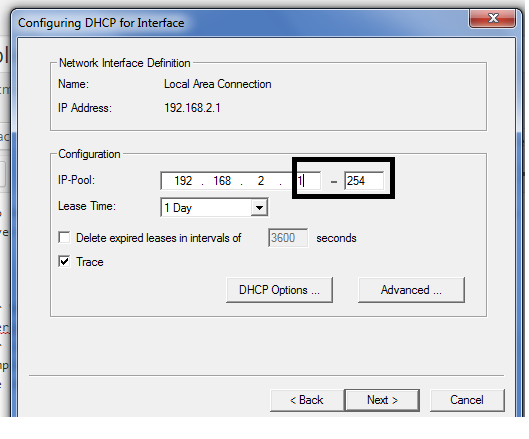
7. Insert a range here(highllighed in the image). for example Put 100-110
8. check box “Owerwrite previous file” and Write the Configuration file.
you should see “INI file written after this step.”. Hit Next/finish

9. Now you should see status as “Running” here. If not, hit Admin.

10. That’s it, you are done. On next page of the interface, enable the option “continue running as tray app”.
Now, boot up your RPi, you should see inet address as the one you assigned in the DHCP server.
Hope this helps future MTI folks with windows machine.
Similar video here