Phase

Assignment,Final Project,Submission — Dan Russo @ 3:34 am

phase_4


Phase Preview from Dan Russo on Vimeo.

Concept:

The concept for this project started as an exploration into the physicality of mathematics and geometry.  These are concepts that are largely used, explored, and taught with on screen software environments.  The direct relationship that these operations hold with computation, make an excellent and effective pair.  However, the goal of this project was to take these abstract and more complex processes and bring them into the real world with the same level of interactivity they had on screen.  By combining digital technology with transparent mechanics, exploration could happen in a very engaging and interactive way.


phase_1


Phase:

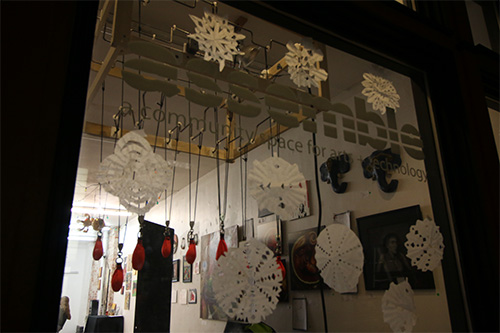
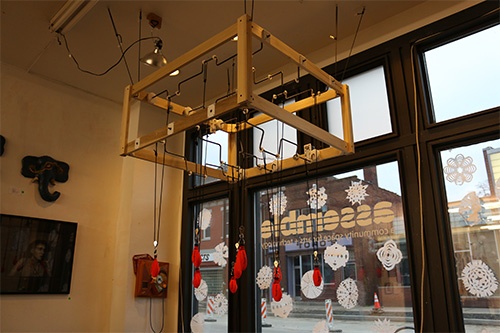
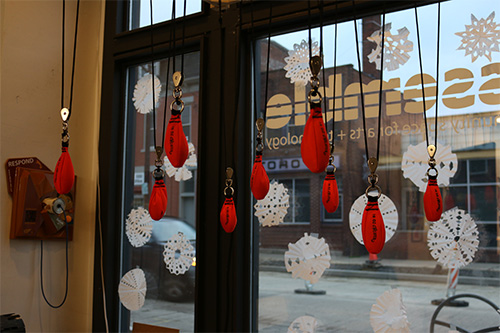
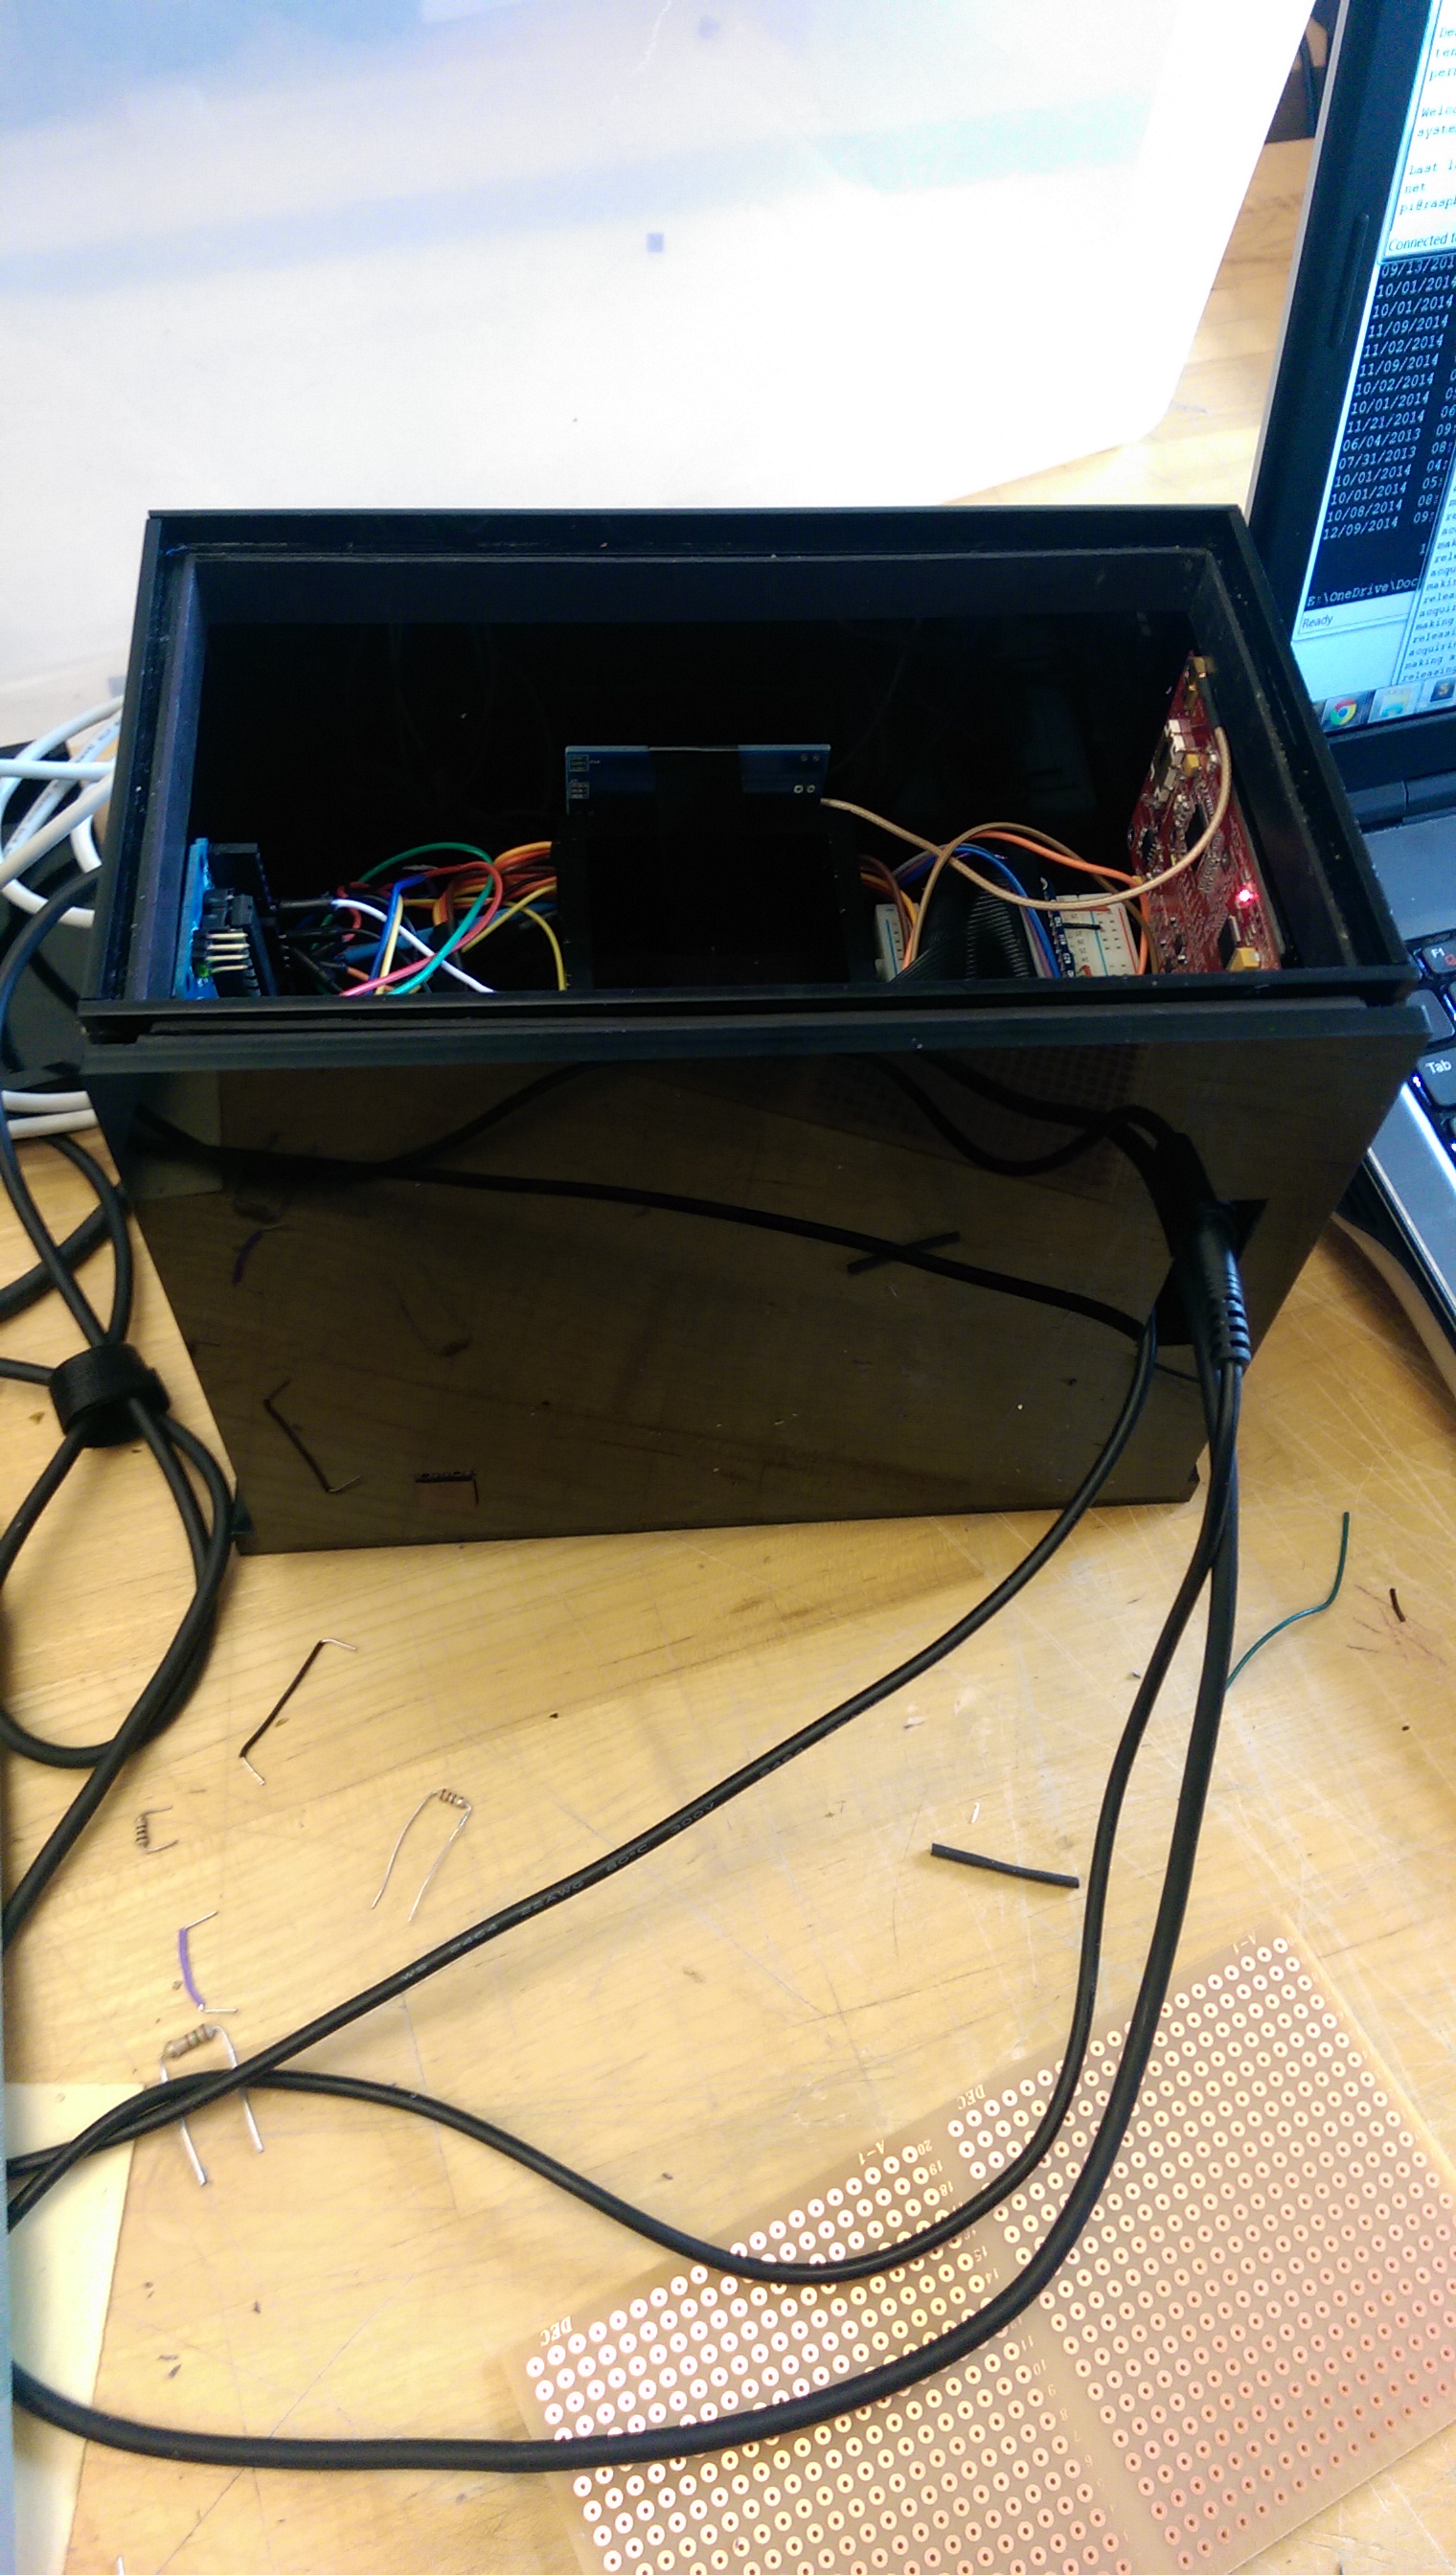
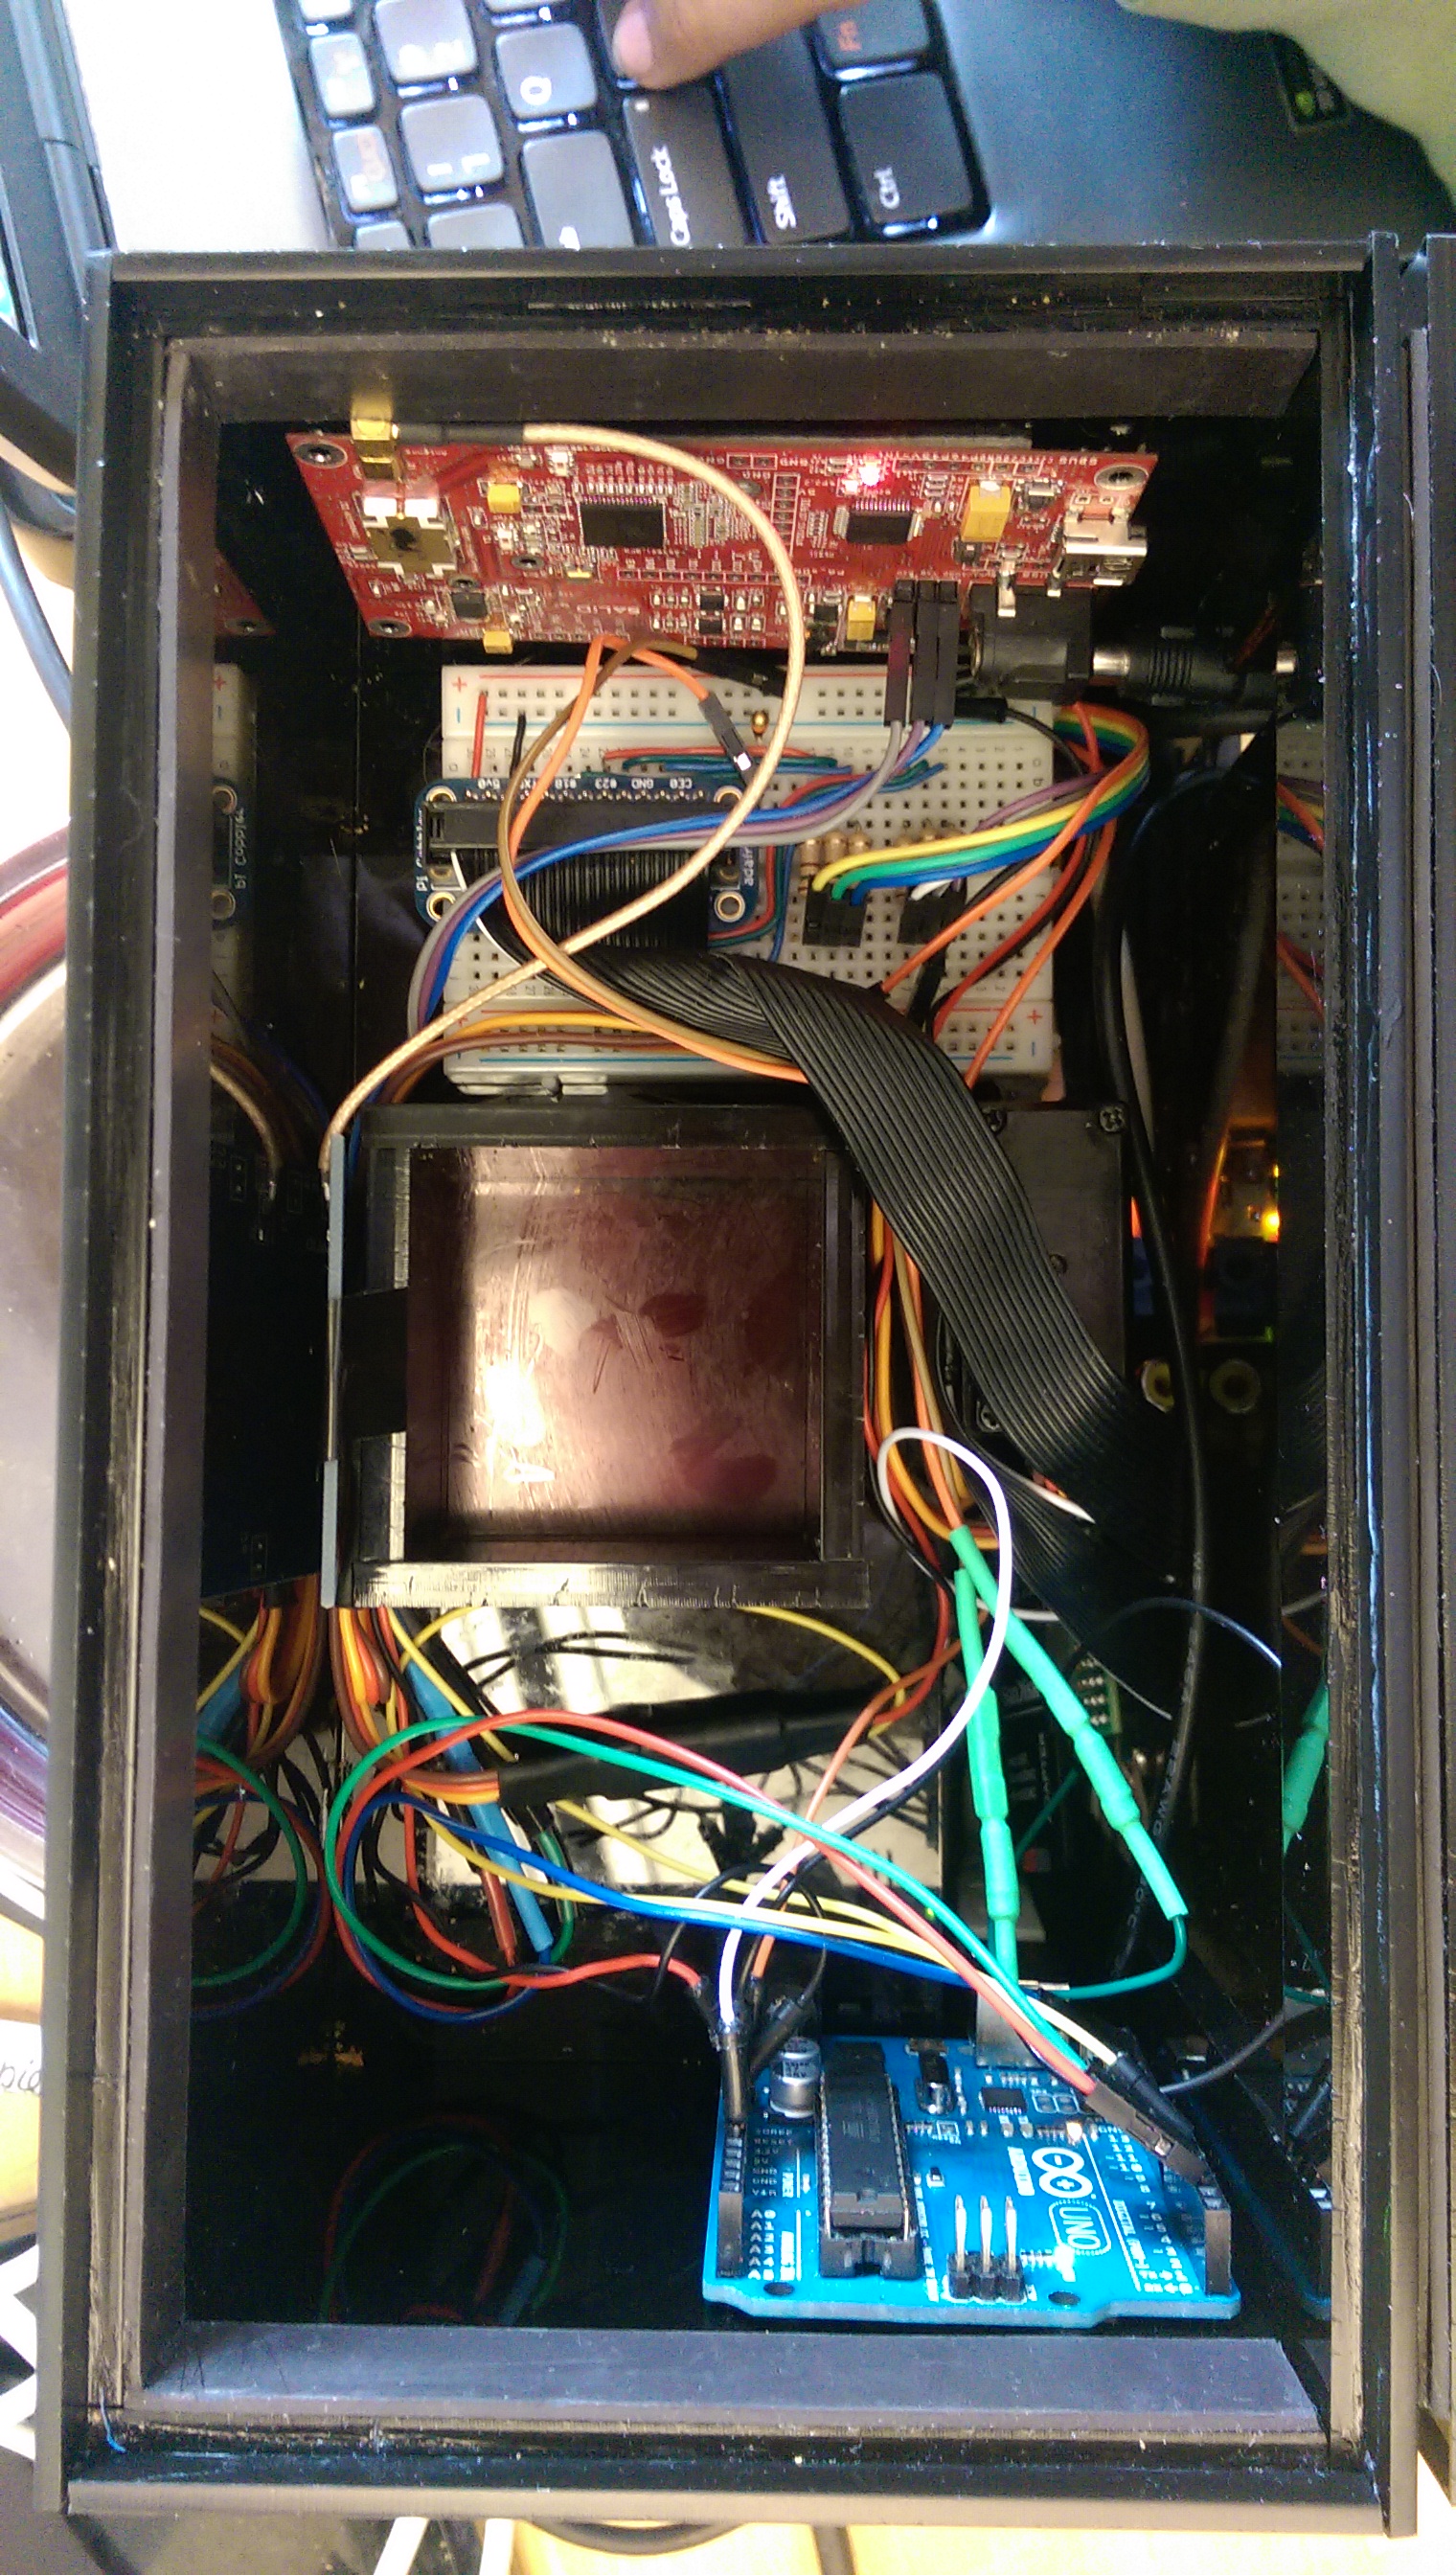
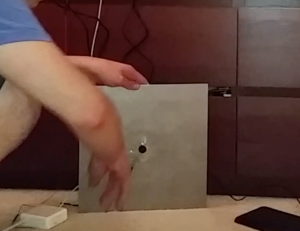
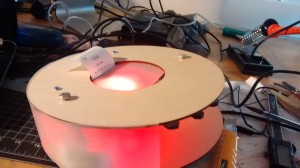
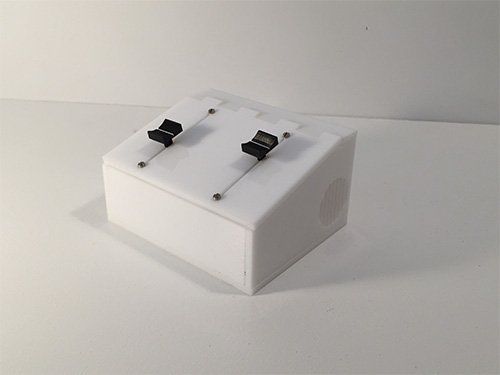
Phase works by mechanically carrying two perpendicular sign waves on top of each other.  When the waves are in sync (frequency) with each other, the translated undulation in the weights below is eliminated.  When the two waves become asynchronous, the undulation becomes more vigorous.  The interaction to this piece is mediated by a simple interface that independently controls the frequency of each wave.  When the sliders are matched, the undulation becomes still, and when they are varied, the undulation becomes apparent.


phase_2

phase_5

phase_3

Related Work:

Rueben Margolin

Reuben Margolin : Kinetic sculpture from Andrew Bates on Vimeo.

Rueben Margolin’s work uses mechanical movement and mathematics to reveal complex phenomena in a fresh accessible way.  The physicality of his installations were the inspiration for this project.  These works set the precedent for beautiful and revealing sculptures,  but the separating goal of phase was to bring an aspect of play and interaction to this type of work.

Mathbox.js

Mathbox is a programming environment for creating math visualizations in web gl.  This environment is an excellent tool for visualizing complex systems.  Phase seeks to take this visual way of explanation and learning, and apply to a physical and tactile experience.


Lessons Learned: (controlling steppers)

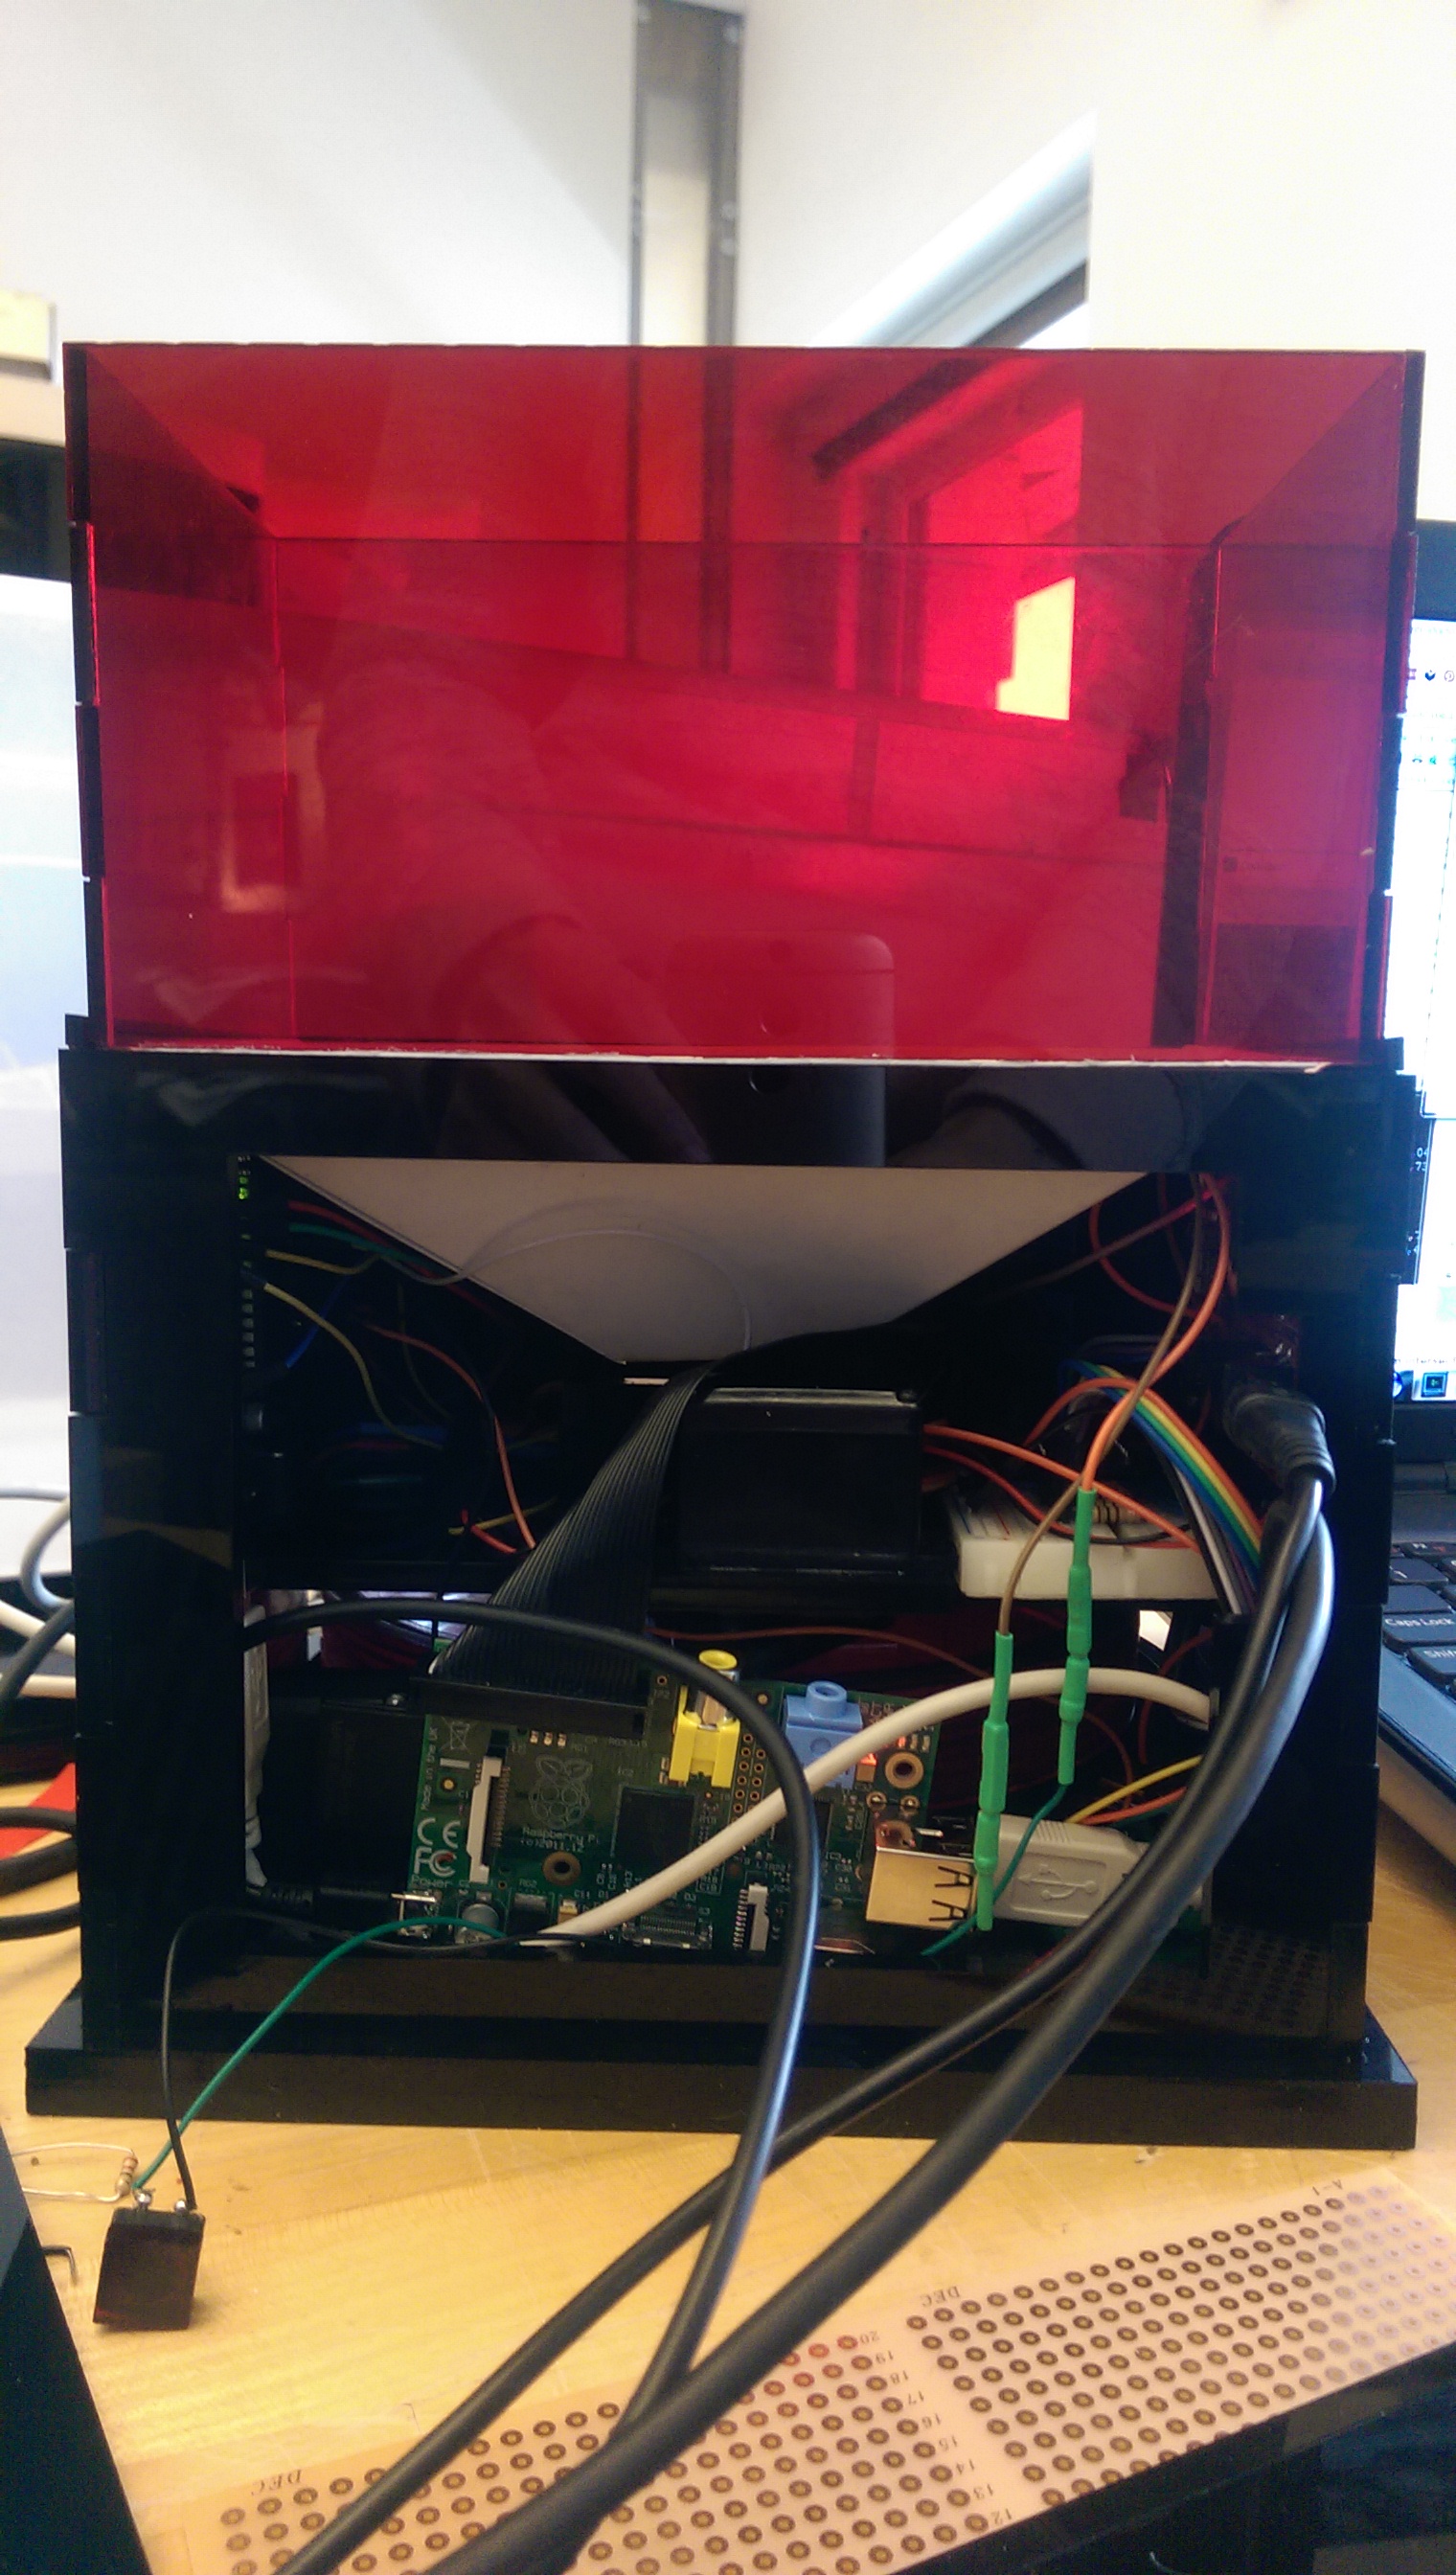
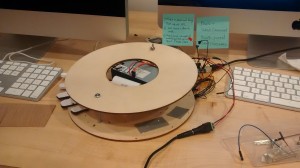
Stepper motors are a great way to power movement in a very controlled and accurate way.  However, they can be really tricky to drive and work with.  Below is a simple board I made that can be used to drive two stepper motors on one arduino.  The code is easy to pick up via the accel stepper library, so this board will clear up a lot of the challenging hardware issues so you can get up and running very quickly.

Things you need:

+Pololu Stepper Driver (check to see if you need low or high voltage variant)- see your specific motor’s data sheet.

See Photo Below and Link for Wiring
Planet Wars

Final Project,Submission — Tags: , — priyaganadas @ 1:53 am

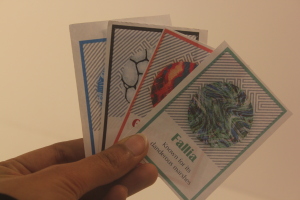
The idea of the project is to render fictional world of novel by using playing cards so that the content becomes interactive.
Planet wars is based on famous science fiction novel “Hitchhiker’s guide to the Galaxy” by Douglas Adams. It consists of 28 planet cards that have been described in the novel. Every card has a keyword that describes the key character of the planet or the people who live on the planet.

How to Play-
Two or more players shuffle and distribute the cards among themselves. Using the planet set that each player has they are supposed to create a story of how their planet would defeat opponent’s planet. This argument has to be counter argued by the opposite player. Whoever builds a better story wins.
How to see the fictional part and interact with the story-
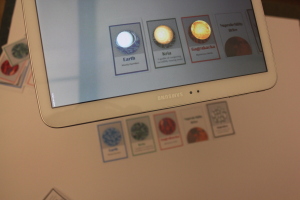
These cards are put below a tablet which has a custom made application.
Cards have the artist’s rendering of the fictional world. The winner of the round gets to tap on the 3D render of opponent’s planet and blast it.
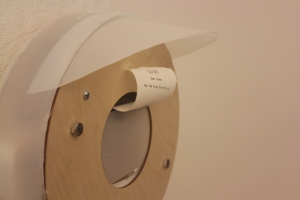
Once the planet is blasted, it is dead and the card can be used anymore. the augmented object is not seen anymore.

IMG_0668

IMG_0683

IMG_0684

Steps-
I tried multiple things before arriving at the final project described above. I think it’s important that I describe all the steps and learnings here-

1. I started with this idea of data sonification of an astronomy dataset. I looked at various dataets online and parsed a dataset of planet set and rise time from pittsburgh for a week, within pure data. After this step, I realised that I need to move to max msp in order to create better sound and more control on data.

2. I started working with max msp, I set up max with ableton and kinect so that body gestures of a human skeleton can be tracked. This is the video demo of music generated when a person moves infront of kinect.
The music is currently changing in relation to hand movement.

3. After this step, I dived deep into finding the correct dataset for sonification. I came across following video and I read more about deep field image taken by hubble telescope over ten days.

Every dot in this image is a galaxy.
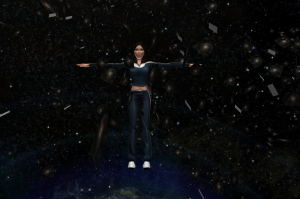
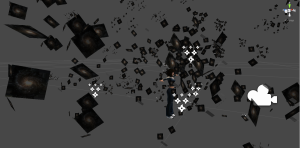
I was inspired by this image and I decided to recreate the dataset inside unity. Aim was to build the deep field image world in unity and using kinect to give the ability to move through this simulation.

Here is how it looks

Screen Shot 2014-12-17 at 5.14.47 PM

Screen Shot 2014-12-17 at 5.20.28 PM

4. I got feedback from the review that the simulation wasn’t interactive enough. Also, there wasn’t enough user experience and immersion. We also happened to visit the galley space where the final exhibit was going to take place. All of this made me realise that I should use all the skills I learned till this point of time to create something fun and playful. That’s when I thought about developing Planet Wars.

Learning
1. I learned to parse dataset in pure data and work with sounds
2. I got introduced to Max and ableton and made my first project work on both of these platforms.
3.The technology used for the final project is- Unity 3D game engine.
Leanings- I learned to render 3D objects inside unity. I learned to add shaders and textures on objects. I also wanted to be able to create particle systems which was part of creating the explosion animation/special effect. I learned how to make my own ‘prefab’, quality or set of features applied to an object that can be repeated for other objects inside unity. Also, I learned how to add gestural interactions like tapping on virtual objects to andriod apps developed in Unity. I worked with getting 3D sounds attached to explosions so that the sound is different depending on whether the user is near or far from the virtual object.

References and related work
1. Astronomy Datasets- Astrostatistics, NASA dataset
2. SynapseKinect
3. Crater project
4. LHC sounds
5. Data sonification

Ahead
From the feedback I received, I am planning to add more special effects during planet interactions and also more 3D objects than just planets- The spaceship and different artifacts used in the novel.

KibbleControl

Kibble Control! This is a pet bowl device that can connect to the internet! Sure, there are other bowls out there. Bowls that detect RFID. Bowls that schedule your cats feeding time. Bowls that connect to the internet and can update you on when your cat ate. Problem is, none of these bowls have the ability to accommodate multiple pets while being able to connect to the internet and allow for the pet owner to control exactly how much the cat should eat each meal and at what time. No other bowl understands whether one pet tends to bully another away from the food bowl and will update the owner over a connected web application. Other bowls that do connect over the internet do so via a phone app, which requires a smart phone to be used, and cannot be accessed via other devices.

Point is, we thought of [almost] everything! It’s a work in progress but we believe we are on to something here. We plan to continue to explore our options regarding this project because it was a lot of fun to work on, it benefits me personally to make this bowl the best it can be so at least I can use it in my home, and there does not seem to be any draw-backs to giving it a go when we have the time for it.

Horay for KibbleControl!

KibbleControl from Yeliz Karadayi on Vimeo.


IMAG0088

opened back

IMAG0089

closed back- locked in with magnets

IMAG0093

the mess inside

img3

img4

img9

img10

img11

img14

Demo of Color Detector

Assignment,Submission,Technique — priyaganadas @ 10:37 am

Here is the video of how the Spy Object works.

Github Repository is here

When the program is run, camera takes three consecutive photographs. Every image is scanned to determine dominant color of every pixel. Pixels are converted into dominant color (either red , green or blue). Now, entire image is scanned to determine dominant color of the entire image. This color is printed out. If all three images are of a predefined color sequence, an audio file is played. If the sequence does not match, program returns nothing.

Lessons Learned
1.The original idea was to to do face detection using RPi. We couldn’t find much precedence on that, also processing via RPi makes it very slow. The only method of doing it is creating a database of predetermined face (say 9 different expressions and angles) and train the Pi to detect the face using this database. This method is not scalable since if more faces are to be detected, larger database has to be built, which can not be handled in Pi.
2. We reduced the size of the image (160×120 pixels) to decrease the time it takes to process the image. Processing time is very high for images larger than that.
3. Color detection is not very accurate. We don’t know if it is the lights, reflection or the camera. Camera can detect the dominant color of a pixel(orange to pink are taken in as red and so on for blue and green) but differentiating between three closely related colors proved to be difficult. Possible solution here would be to print RGB value for a colored object and then manually determine a range of detection.

Project 02 – Spy Device – iSpyLenny

Assignment,Submission — alanhp @ 4:19 pm

The password is: ispylenny

Screen Shot 2014-10-03 at 4.15.37 PM


Screen Shot 2014-10-03 at 4.16.11 PM

Screen Shot 2014-10-03 at 4.17.09 PM

Screen Shot 2014-10-03 at 4.17.32 PM

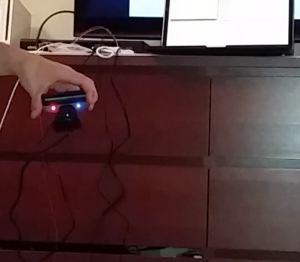
Concept: iSpyLenny is a remote dog monitor to spy / see my dog who is in South America while I am in the US. A pressure sensor sits below his bed and senses when he stands on it. When this happens, a picture of him is taken by the PS3 Eye webcam which sits next to the bed. This Picture is then saved on the RaspberryPi and uploaded to Dropbox from the device. Once the photo is uploaded, an IFTTT block is activated and a notification is sent to my phone with a link to the picture.

The process for getting this to work was a lot harder than I expected. The simplest part was to get video capturing working using the built in functionality in openFrameworks. The more complicated part for me was with the wiringPi and with the uploading images to Dropbox. The wiringPi part is technically very simple but I had a big misunderstanding of current flow and of the way resistances worked. Once I got help on that from Jake it wasn’t hard. The other part that was hard was the Dropbox uploader, in particular what I found the hardest is understanding how to locate from a terminal command all of the files I needed, so using file paths for where the script was, for the location of the image on the RaspberryPi and for the location of the Dropbox folder. One issue which I ran at the end when combining both the picture taking and the wiringPi is that the picture being taken was just grey, even though I was using the exact same code from the working file, I think it had something to do with the way the project was created and the addOns and settings made when creating it. I tried a couple of different ways of solving this but after two hours it seemed like it wasn’t justified and I just decided to leave it.

Some lessons learned:

  • Terminal commands can be run from openFrameworks code so you can essentially do anything outside of openFrameworks using openFrameworks.
  • Current flows to where its easier for it to flow, a resistor will make it harder for the current to flow in that direction.
  • File paths… ../ go back one directory folder1/folder2/folder3 go to folder 3… ../../../folder1 go back three directories and then enter folder1.
  • There are some problems which are probably not worth solving, i.e. when the returns are really tiny compared to the effort you’ll dedicate
  • IFTTT blocks run every five minutes.


RPi Primer

Assignment,Submission — priyaganadas @ 7:58 am

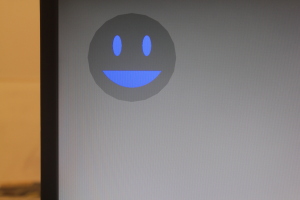
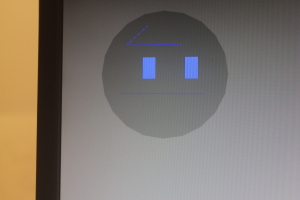
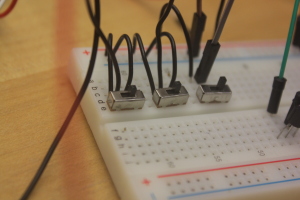
Three switches were connected to Raspberry Pi. Switch 1 activates the graphics and generates first smiley. Switch two changes the expression into a happy face and switch three changes the expression into a worried face. Aim was to learn to use wiringPi with openFrameworks.

IMG_0223

IMG_0225

IMG_0226

Video is here

Lesson learned-
1. The pinout diagram is different for different models, GPIO numbers are not similar to pin breakout on the board.
2. OpenFrameworks is fairly easy to use to generate graphics.

Troubleshooting with Windows
1. Before starting, always check if the computer is on ‘CMU’ network and not on ‘CMU Secure’. Even though I registered my computer on CMU network, it did not register for longer time, (more than 30 minutes). This problem got solved automatically when I registered for fourth time.
2. Also, Go to “Internet and sharing option’ , then click on to ‘ adapter settings’. Here, find CMU wireless connection, Go to advance properties, Under ‘sharing’ make sure you have selected ‘ Local Area Network’. Also, check the box which says ‘Allow sharing with devices on the network’.
3. Above setting may change next time you connect to CMU network. Check every time.

Color Detector

Submission — amyfried @ 7:47 am

Color Detector from Amy Friedman on Vimeo.

photo 3 photo 2

Concept: Our concept was to create an encoded message device, which will output a secret message if the right colors are recorded by the camera in the correct sequence.

Process: First we needed to create the program that would be able to read blob detections to identify one color. Our goal was to have 3 colors, red, black  and blue. Once we detected one color we utilized Python to detect two other colors. After this we developed the program to recognize color but record the sequence. If the detect sequence matched the “secret code” of blue black red then we allowed for the message to be given. Next we needed to create the mp3 file of what we desired the message to say and added it to the raspberry pi.

Lessons Learned: We learned how to use python, how to import into python, the language context needed to successfully utilize the python. We also learned how to time capture images using a camera and output audio files on the Raspberry Pi. We also learned how to detect color using captured images. We learned how to develop form for already preexisting objects, to be utilized in a new capacity.

We utilized these two websites to help with part of the coding:

learn.adafruit.com/playing-sounds-and-using-buttons-with-raspberry-pi/install-audio

www.cl.cam.ac.uk/~db434/raspi/blob_detection/

“Ar Drone Parro-Tweet” by John Mars, Yeliz Karadayi, and Dan Russo

Assignment,Submission — Dan Russo @ 7:39 am

Parro-Tweet from Dan Russo on Vimeo.

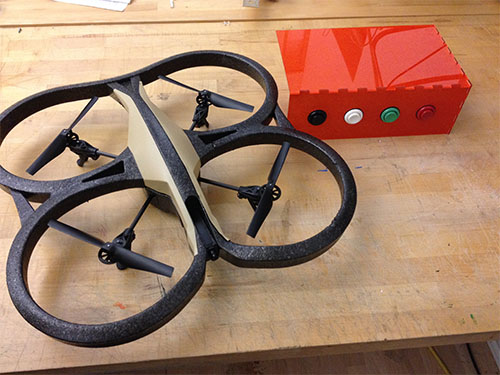
Parro-Tweet utilizes the AR Drone hardware platform coupled with Open Frameworks and the twitter api. Open frameworks allows the drone to be controlled multiple sources, including a remote laptop with gaming controller or the raspberry pi with custom control panel.  The drone can be used to seek out photos and instantly place them on a twitter feed.

The biggest challenge with this hardware platform was the latency experienced from the video feed outside of it’s designated mobile app.  This is most likely due to the compression type the wifi connection uses.  It’s proprietary nature made it difficult to find any documentation on how to fully utilize the system.  The latency made it nearly impossible to run any computer vision / navigation through open frameworks.  However, all manual controls and the twitter api are fully functional.

parr_twt

“Dizzy, The Deceitful” by Patt Vira & Epic Jefferson

IMAG1084

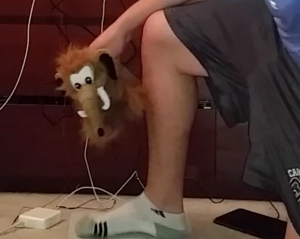
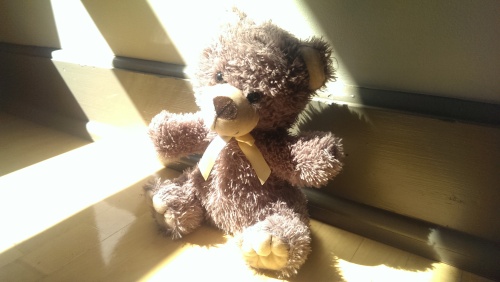
Dizzy is a friendly looking teddy who actually watches your every move and makes everything it sees public.

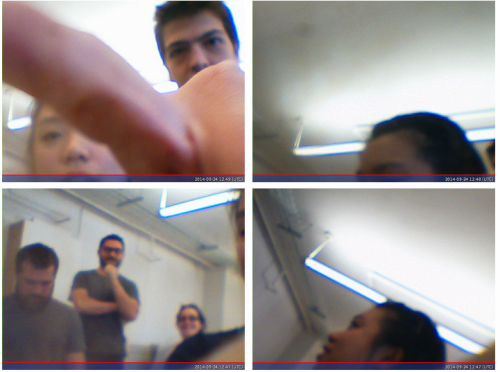
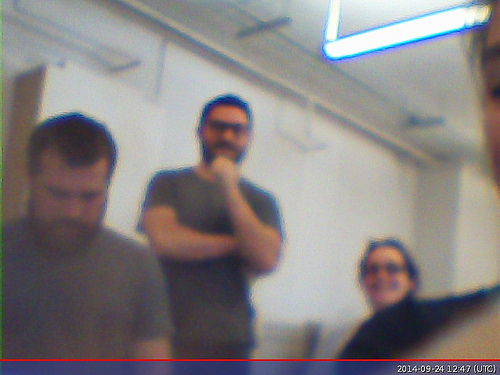
Making use of the Raspberry Pi’s GPIO, we hooked up a PIR sensor to trigger a webcam capture event and publish the image to Tumblr.

patt-vira.tumblr.com/


Challenges

By far the most challenging part of this project was working with the API. Since it’s a lot easier to find examples of raspi projects written in python than in c++, we decided to use python. For example, the Tumblr API page has example code for python but not c++, adafruit has a great python tutorial for hooking up a PIR sensor to a Pi’s GPIO.

pytumblr is Tumblr’s official API client for python, but the instructions are unclear.


Python-to-tumblr Tutorial

epicjefferson.wordpress.com/2014/09/28/python-to-tumblr/


Source Code

github.com/epicjefferson/webcamToTumblr


spycam01

spycam

spycam03


SILO

Assignment,Project01,Submission — priyaganadas @ 12:47 am

SILO from Priya Ganadas on Vimeo.

SILO is a silent tracker which senses people walking by.

Goal– The idea of the project is to make people realize life beyond their own bubble, by grabbing their attention while they do a routine act such as walking from one building to another. SILO gets activated by footsteps and prints out messages that can be related to any situation. These messages add serendipity to everyday life. Little creatures hide inside SILO and appear to see the person who activated them. They go back in once SILO is finished giving out the message.

IMG_20140906_230444786

IMG-20140908-WA0002

IMG_0096

Technology– SILO has a thermal printer that prints out messages, Piezo sensor to detect footsteps, LEDs, Arduino, Speaker phone and Servo to activate the little creatures.

Next Page »
This work is licensed under a Creative Commons Attribution-Noncommercial-Share Alike 3.0 Unported License.
(c) 2024 Making Things Interactive | powered by WordPress with Barecity